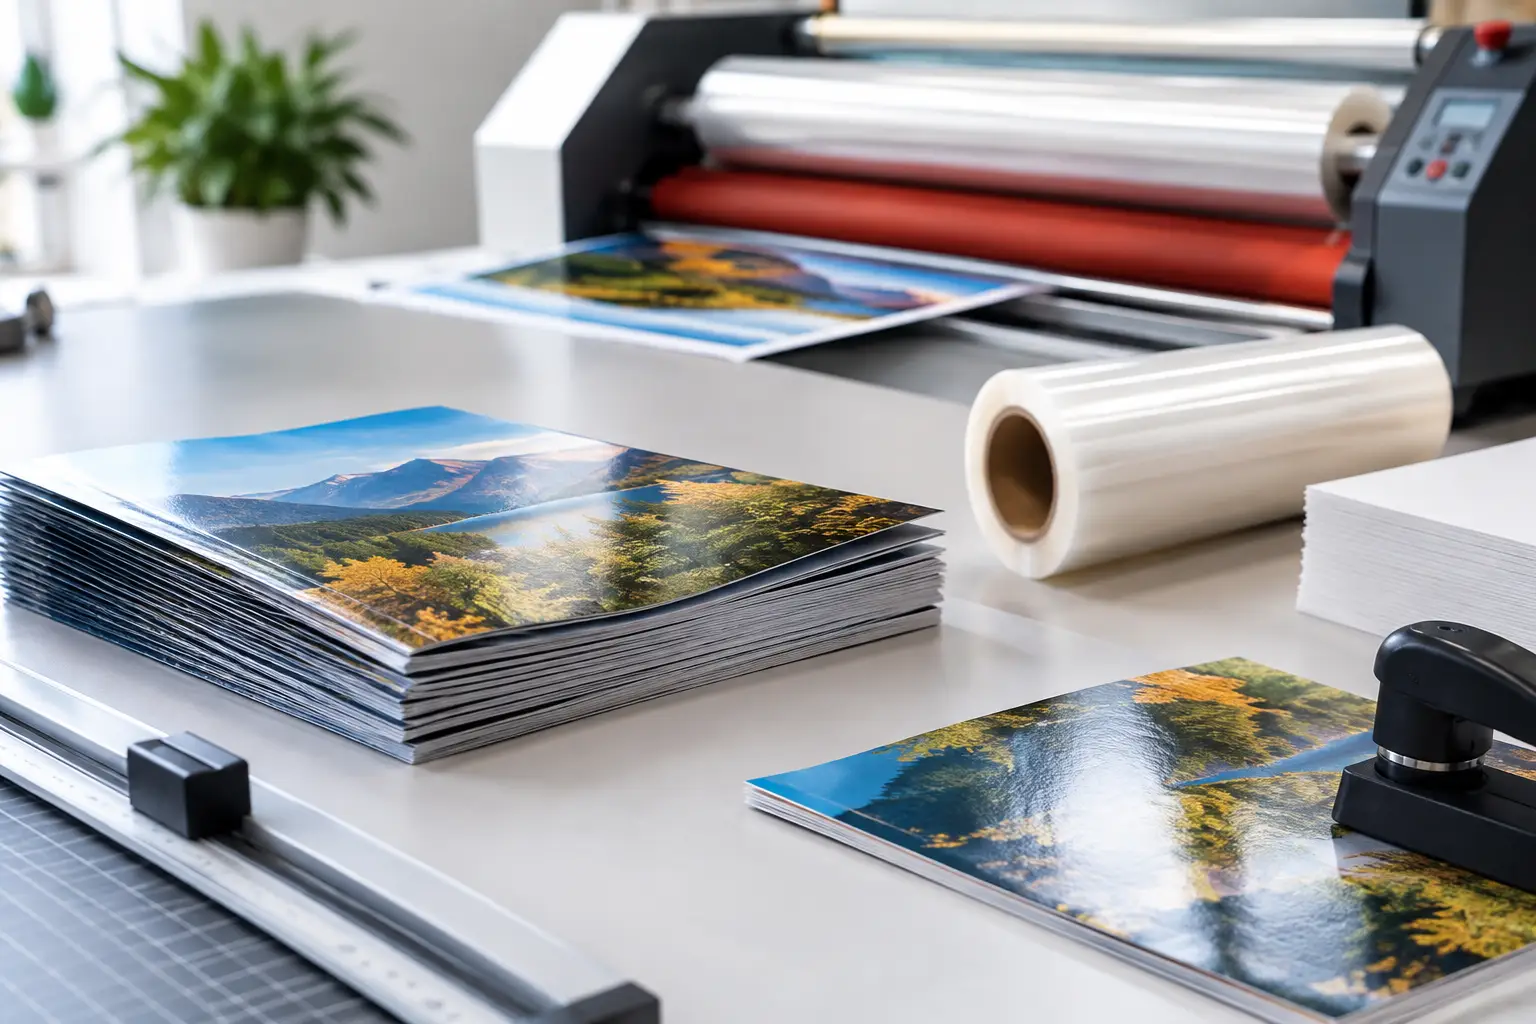
A postcard can have the right offer, a well-built mailing list, and strong design, then still lose impact when it arrives with scuffed ink, an awkward fold, or a finish that does not fit the message. This commercial print finishing guide helps businesses choose the production details that make printed pieces look professional, hold up in handling, and support the job they were created to do.
Print finishing is what happens after ink goes on paper or another substrate. It includes cutting, folding, coating, binding, drilling, scoring, and other steps that turn a printed sheet into a useful marketing piece or business document. These decisions affect cost, appearance, mailing compatibility, durability, and how customers feel when they hold your material.
What Print Finishing Does for Your Business
Finishing is not just decoration. A clean trim makes business cards feel precise. A score keeps a heavy brochure from cracking at the fold. A coating can help a postcard resist fingerprints and wear as it moves through postal equipment. For a real estate mailer, restaurant menu, event flyer, or sales brochure, those details reinforce that your business is organized and credible.
The right choice depends on where the piece will be used. A handout for a one-night club event may need an affordable trim and fast turnaround. A postcard campaign needs a durable, mail-ready surface and dimensions that work with postal requirements. An employee manual or presentation booklet needs a binding method that fits its page count and expected use.
Finishing also needs to be considered before the design is finalized. A fold panel requires safe margins. A saddle-stitched booklet needs page counts in multiples of four. A coating may change the appearance of certain colors. Planning these requirements early avoids redesigns, production delays, and unnecessary expense.
Commercial Print Finishing Guide: Start With the Purpose
Before choosing a gloss finish or special fold, define what success looks like for the printed piece. Is it meant to generate calls, introduce a service, provide directions, collect leads, support a sales meeting, or serve as an everyday office document? The answer points to the practical finish.
A direct-mail postcard needs to stand out while remaining easy for postal equipment to process. A glossy or coated finish can add color impact, while a writable area may need to be left uncoated for addressing, notes, or postal information. Door hangers require a sturdy stock, accurate die cutting, and a shape that hangs securely. Yard signs and vehicle decals call for materials and finishing that can handle outdoor exposure.
For collateral that customers will keep, such as brochures, menus, presentation folders, or product sheets, durability matters more. A protective coating, heavier stock, or reinforced fold can extend the life of the piece. For invoices, letterhead, and envelopes, a clean professional finish and reliable compatibility with office processes are usually more valuable than visual effects.
A practical production conversation should cover the following: how the material will be handled, whether it will be mailed, the size and quantity needed, the timeline, and the available budget. These details let your print provider recommend an option that works rather than simply choosing the most expensive finish.
Coatings: Gloss, Matte, and Uncoated
Coatings are among the most visible finishing choices because they change both the look and feel of a printed piece. They can also provide useful protection from moisture, scuffs, and repeated handling.
Gloss Coating
Gloss creates a shiny surface that can make photographs and bright colors appear more vivid. It is a common choice for postcards, promotional flyers, product cards, and high-color marketing pieces. If your goal is to catch attention in a stack of mail or on a counter, gloss can be effective.
The trade-off is readability under certain lighting conditions. Heavy gloss can create glare, and it is not ideal when people need to write directly on the piece. If a postcard includes a coupon, appointment reminder, or response section, ask whether an uncoated writable area is needed.
Matte Coating
Matte has a softer, non-shiny appearance. It often works well for professional brochures, premium service materials, real estate marketing, and pieces with a lot of text. Matte can feel polished without competing with the content.
It may not make colors appear as intense as gloss, and dark solid colors can show fingerprints more easily on some stocks. That does not make matte the wrong choice. It simply means the design, paper, and expected handling should be reviewed together.
Uncoated Paper
Uncoated paper has a natural, easy-to-write-on surface. It is often a good fit for letterhead, forms, invoices, notepads, reply cards, and materials where customers or staff will add information by hand. It can also give certain brands a more personal or traditional feel.
Uncoated sheets are generally less resistant to dirt and moisture than coated stocks. They are best selected when writing ability, affordability, or a specific tactile feel matters more than protective shine.
Folding, Scoring, and Trimming
A fold is more than a line down the middle. It changes the order in which people see your information. A tri-fold brochure can introduce a business on the cover, explain services inside, and end with contact information and a call to action. A half-fold is straightforward for programs, menus, and event materials. Gate folds and other specialty folds can create a stronger reveal, but they increase setup and production requirements.
Heavy paper and cover stocks should usually be scored before folding. Scoring creates a controlled crease so the sheet folds cleanly and reduces the risk of cracking along a color-heavy area. This is especially relevant when using dark backgrounds, full-color images, or thicker brochure stock.
Trimming matters just as much. Standard sizes tend to be more cost-effective and easier to mail, display, or fit into holders. Custom trimming can make a piece distinctive, but it may add cost and can complicate envelopes, racks, or postal planning. When a campaign relies on direct mail, confirm the finished size before artwork is approved.
Binding Options for Booklets and Multi-Page Pieces
Booklets give businesses room to explain services, showcase products, present event information, or assemble training and sales materials. The best binding method depends mainly on page count, paper weight, budget, and how the booklet needs to open.
Saddle stitching uses staples along the folded spine. It is a dependable choice for shorter booklets, programs, catalogs, newsletters, and event guides. It is economical and opens well, but it requires pages to be arranged in multiples of four.
Perfect binding uses adhesive along a flat spine, creating the look of a paperback book. It works well for thicker catalogs, manuals, reports, and more substantial presentations. The spine can carry a title, but this method needs sufficient page count and may not lie completely flat when opened.
Coil or wire binding is useful when a document needs to lie flat or fold back on itself. Training manuals, price books, reference guides, and workbooks often benefit from this practical format. The finished product may feel less formal than perfect binding, but it is highly functional for repeated use.
Special Cuts, Drilling, and Functional Details
Some finishing choices are designed for function first. Drilling adds holes for binders, hanging tags, or organized materials. Perforation creates tear-off coupons, tickets, forms, or reply sections. Die cutting creates a custom shape for door hangers, product tags, folders, decals, and promotional pieces.
These details can improve response and usability when they serve a clear purpose. A perforated offer makes redemption simple. A shaped door hanger is made to stay visible at a residence. A custom-cut piece can support a memorable campaign. But special finishing should not be added simply because it is available. Each extra process affects cost, scheduling, and the way artwork must be prepared.
Protecting Your Budget and Timeline
The most efficient projects are planned as complete production jobs, not as separate decisions made at the last minute. Confirm quantities, finished size, stock, coating, folds, mailing needs, and delivery date before production begins. If a job includes direct mail, allow time for list preparation, postal setup, addressing, sorting, and distribution.
Ordering a realistic quantity also matters. Higher quantities can lower the per-piece print cost, but only if the materials will remain current. A business with changing prices, seasonal offers, or frequently updated services may benefit from shorter runs. A long-running postcard design or evergreen brochure can often justify a larger quantity.
Proofing is another smart safeguard. Review phone numbers, website details, offer dates, mailing information, fold placement, and image quality carefully. A finishing process cannot correct outdated contact information or a design placed too close to a trim edge. Catching problems before production protects both your budget and campaign schedule.
For Lancaster, Palmdale, and Southern California businesses, JR’S Handling can coordinate printing and direct-mail execution in one working relationship. That reduces the back-and-forth between separate vendors and helps keep the printed piece, mailing list, and distribution plan aligned.
The best finish is the one that helps your material do its job with confidence. Choose the details that fit your audience, your budget, and the way the piece will be used, then give customers something worth holding onto.